
Winterizing Outdoor Faucets: A Fall Checklist for GTA Homes
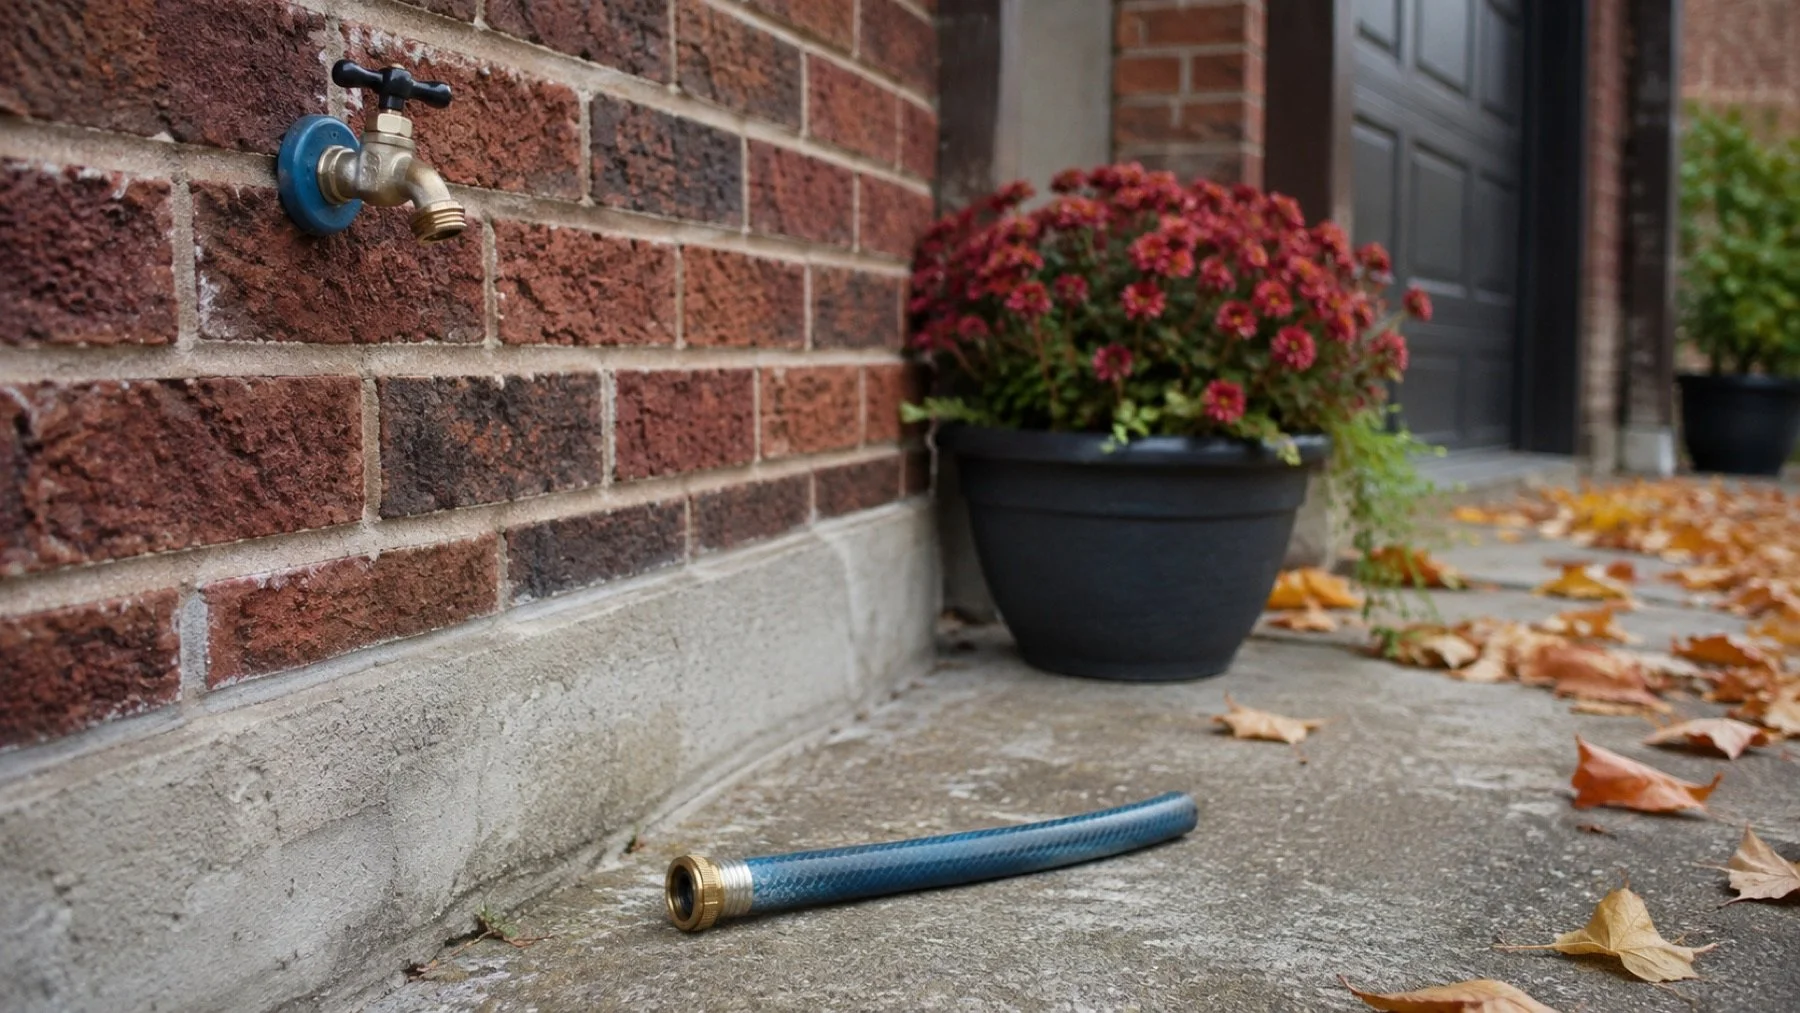
Winterizing outdoor faucets starts with identifying each connection and the way it shuts off and drains. A front garden tap, a rear hose connection and an outdoor kitchen may not use the same arrangement. Seal Plumbing's residential services include exterior hose bibs and outdoor plumbing, so uncertain connections can be reviewed before freezing weather.
Use this fall checklist for the equipment already installed at your GTA home. Follow the instructions for that faucet and its isolation arrangement. If you cannot establish how it drains, arrange help rather than assuming a cover completes the job.
1. Make a list before putting the garden equipment away
Walk around the property and identify every outdoor water outlet you use. Include less visible connections behind storage or near an outdoor kitchen. Keep irrigation equipment on a separate list because its winter preparation may require its own service procedure.
Match each outdoor faucet with its known indoor control, where one exists. Do not turn an unidentified valve simply because it is closest to that wall. Ask someone familiar with the installation or have the line traced. A label should describe a confirmed connection, not a guess.
Photograph the faucet and accessible interior piping. Save the model information if it is available. These details help a plumber explain the shutdown procedure or identify a valve requiring service without relying on a verbal description of the handle colour.
2. Disconnect the hose and attached equipment
Remove the garden hose and store it according to its own care instructions. Check for splitters, timers and other attachments that also need removal for the faucet's winter procedure. Work while the connections are accessible and temperatures are still suitable for preparation.
Do not wrench a seized hose coupling against an unsupported faucet. If the fitting will not release normally, arrange service. Forcing the outside connection can place stress on piping inside the wall, where a resulting leak may be difficult to see.
The City of Toronto's cold weather plumbing advice calls for disconnecting hoses, shutting the outdoor supply and allowing taps to drain. Apply that guidance through the correct procedure for your installed faucet and valve arrangement.
3. Follow the confirmed isolation and draining procedure
For a system with a seasonal indoor shutoff, use the procedure provided for that installation. Confirm which valve isolates the outdoor branch and how remaining water is released. A drain or bleed point needs to be identified correctly before it is opened.
Keep a container available where the procedure calls for controlled drainage. Do not remove unknown caps or loosen pipe connections in search of a drain point. If you have no instructions and cannot identify the arrangement, stop at the observations you can make safely.
If the tap keeps flowing after isolation
Report that the outdoor supply continues to flow after the identified shutoff was operated. The valve may not be isolating correctly, or the control may not serve the line you expected. Do not tighten it harder as a substitute for confirming the cause.
If water leaks around a valve or appears inside the wall, leave the outdoor connection out of use and request a valve or pipe repair assessment. Tell the plumber whether the leak occurs continuously or only when the faucet operates.
Match frost resistant equipment to its actual instructions
A frost resistant wall faucet relies on more than the visible handle. Its installation determines whether water can leave the exposed part after use. Read the model identification from existing records or an accessible marking. If the information is missing, ask the plumber to identify the assembly before treating it as self draining.
For example, Woodford's Models 14 and 17 instructions require a slight downward pitch toward the outlet and a supply connection within a heated space. They also warn that leaving the hose attached can allow freezing and bursting. These details explain why the word freezeless does not confirm that an unknown installation is ready for winter.
You can record whether a hose remains attached and whether the interior connection is accessible. You cannot confirm a concealed faucet's pitch from its handle shape. Do not loosen the wall flange or rotate the body to try to improve drainage. Where the installation is uncertain, request an assessment of the faucet's position and connection rather than relying on a thicker cover.
Keep accessory removal separate from pipe alterations
A hose timer, splitter or quick connector may remain after the main hose has been put away. Include those pieces in the model specific winter procedure. Photograph the arrangement before taking removable accessories off so you know which components were present. Leave built in parts of the faucet intact.
Some outdoor connections include backflow protection as part of the assembly. That component should not be removed simply because it resembles a hose attachment. Compare the manufacturer's diagram with the installed parts or ask the plumber to identify them. The useful distinction is between a seasonal accessory and a component required for the faucet to operate as designed.
Plan the first use after winter
Save the shutdown record for spring. Before returning the outdoor connection to use, check the accessible interior area for visible changes and follow the reopening procedure for the installed system. Arrange for someone to observe the inside connection if the normal startup check requires it. Stop if water appears where it should not.
A faucet that produces water outside has not, by that observation alone, passed a leak check inside the wall. Ask about inspection access now if the connection is concealed and has a history of freezing. A known viewing point can make the next startup easier to assess without opening finishes after a problem develops.
If an exterior tap must remain available during cold weather, explain that need when arranging service. A seasonal shutdown checklist does not establish that the current equipment is suitable for winter operation. The plumber needs the intended use and existing model information to advise on a suitable arrangement. Do not reverse a confirmed shutdown simply to use a hose on a freezing day.
4. Record any uncertainty before the weather changes
A winter checklist is useful only if it distinguishes completed steps from unresolved ones. Write down the outdoor connections you identified, which hoses were removed and which draining procedures were confirmed. Mark an unknown shutoff or seized connection for service rather than ticking the whole property complete.
For a new home purchase, ask for the existing outdoor plumbing instructions. For a recent renovation, request the installed faucet information and the seasonal procedure from the project team. Keep those records where the next person preparing the home can find them.
Does a frost resistant label mean I can leave the hose attached?
No. Follow the faucet manufacturer's instructions about hose removal and drainage. The product's protection depends on its installation and use. A label does not establish that the existing connection drains correctly.
Is an insulated outdoor cover enough?
A cover does not establish that trapped water has drained or that an indoor valve isolates the branch. Complete the procedure for the installed faucet first, and use accessories only as the manufacturer recommends.
Arrange a visit for the outdoor connection you cannot confirm. Include photos from both sides of the wall and identify the unfinished checklist step. Resolve that specific problem now so next fall's preparation can follow a known procedure.