
Water Pipe Insulation: Which Areas of Your Home Need a Closer Look?
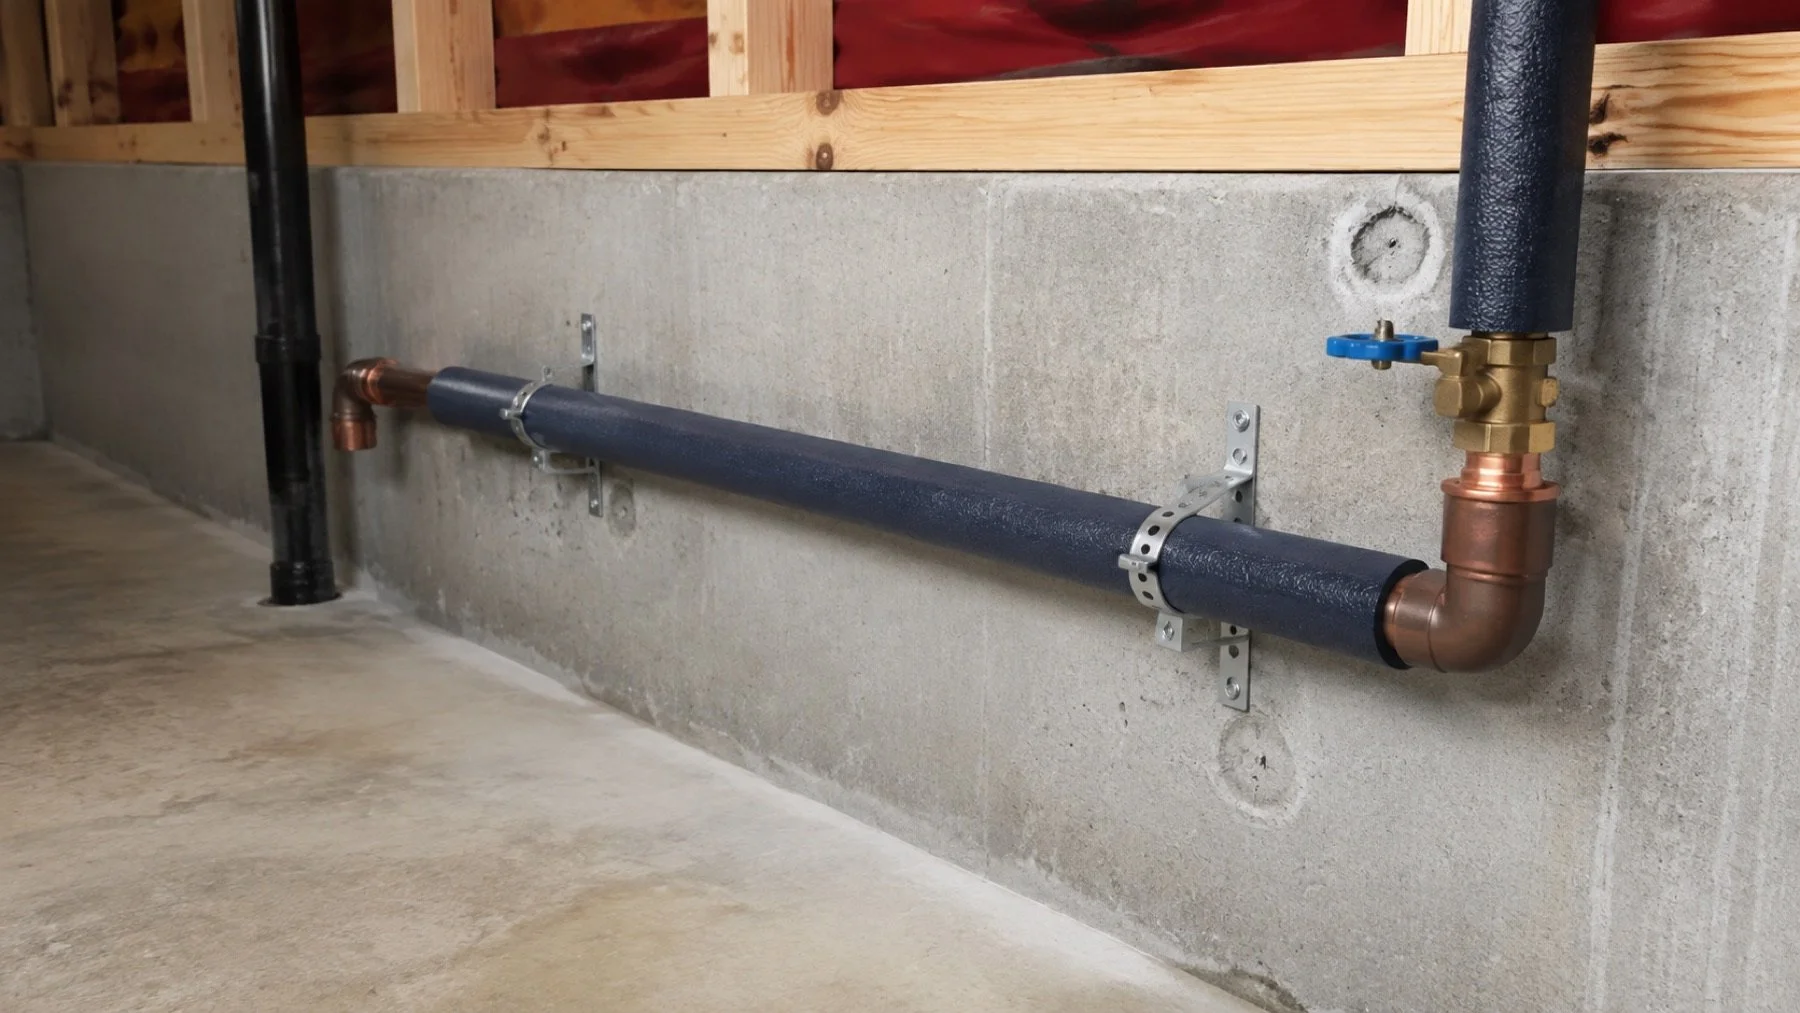
Start a water pipe insulation review with the spaces around the pipe: an exterior wall, an unheated garage, a crawl space or the water service entry. A covering can help protect exposed piping, but recurring freezing also calls for a look at cold air and the route of the line. Seal Plumbing includes water pipes in its residential plumbing work.
For a GTA home, early fall is a useful time to identify those areas while the system is working normally. You can discuss access and repairs before a frozen pipe turns the same work into an urgent visit.
Begin where the service enters the basement
Locate the accessible water entry and main shutoff without disturbing the meter or piping. Look at the surrounding wall and the space available for inspection. Note whether storage, a new cabinet or a recent renovation has enclosed the area. The plumber needs to see more than the small section of pipe nearest the valve.
Record any history of lost water during cold weather. State whether all fixtures were affected or only one branch, and whether the issue returned after earlier repairs. That history helps identify the part of the home requiring closer attention.
The City of Toronto's frozen pipe prevention guidance identifies exterior walls and the foundation entry as likely trouble spots. It recommends insulation at vulnerable pipes and sealing cold air leaks. Repeated freezing is a reason to seek plumbing advice.
Follow accessible lines into colder spaces
Walk through the spaces you can safely access. Note water lines in or beside a garage, a utility room with an exterior wall, and accessible areas under a kitchen or laundry sink. Do not enter an unsafe crawl space or attic to complete this review. A note that a line disappears into an inaccessible area is useful information.
Look for differences along the route. A pipe may have insulation in the open basement and then pass through a gap near the rim of the floor. Covering only the obvious section can leave the colder location unaddressed. Ask the plumber to consider the complete exposed route rather than just the length you can photograph.
Check what a renovation changed
A new enclosure can change how room warmth reaches a pipe. Tell the plumber about recently boxed in lines, new cabinetry or changes to a formerly open utility area. If an access panel exists, keep it reachable instead of covering it with stored items.
For a renovation still in progress, discuss the pipe route before the wall closes. Keeping water lines within an appropriate protected space is a design question. A piece of foam added after the fact should not stand in for that discussion.
Review air paths with the building work
Where a pipe passes through the building enclosure, photograph visible gaps from a safe location. A plumber can assess the water line, while sealing or insulation work around the opening may need coordination with another trade. Clarify who will complete each part so the pipe repair does not leave the same exposure behind.
Avoid filling every opening with a general purpose product. The location may have clearance, ventilation or fire separation requirements. Ask for materials and methods suitable for the actual assembly, particularly around equipment, wiring and vents.
Select the covering for the pipe and its surroundings
Have the installer match the product to the pipe size, use and location. The seams, bends and transitions need attention as part of the installation. Ask how the main shutoff and other serviceable components will remain identifiable and accessible.
Do not add electrical heat cable as an improvised substitute for diagnosis. Any such product needs to be suitable for the pipe and installed to its own instructions. Ask about that separately if a professional recommends it. A previous owner's cable without readable identification deserves review before continued use.
If you find damaged insulation beside staining or a damp joint, arrange a pipe repair assessment before covering it again. Concealing an active leak makes it harder to observe and does not protect the pipe.
Separate freeze protection from hot water heat loss
Identify the purpose of each proposed covering. Insulating a hot water line within a heated basement addresses heat loss along that route. Protecting a cold water branch beside an exterior wall addresses a different exposure. The same shopping list does not explain both jobs, and a quote should say which problem each section of work is intended to improve.
The US Department of Energy's domestic hot water pipe insulation job aid illustrates correctly sized pipe wrap and continuous coverage through bends and obstructions. Those workmanship details are useful when discussing a proposal. Its numerical specifications are not a substitute for the requirements of an Ontario installation or the selected product.
Ask how the installer will deal with elbows, tees and supports rather than comparing only the total length of straight insulation. A sleeve that is too small can leave its seam open. A loose covering may leave an uneven fit. Product selection should therefore use the actual outside size of the pipe and the manufacturer's instructions, not a guess based on the pipe's trade name.
Inspect the finished coverage while it remains visible
Walk the accessible route after installation with the person who completed it. Look for open seams, uncovered transitions and sections compressed by storage or nearby fittings. Ask whether an apparent gap is deliberate for access or equipment clearance. Do not fill it yourself until its purpose is understood.
Keep pipe insulation separate from a water heater blanket or insulation around a flue. Nearby equipment can impose material and clearance restrictions. If the proposed pipe covering reaches a heater connection, have the installer explain how the equipment instructions affect that detail. A general insulation product should not conceal labels, controls or service points.
For a pipe hidden during renovation, request photographs before the enclosure closes. The photos should show the route and transitions, not just a close view of the foam. Pair them with a note identifying any section that could not be protected and the remaining building work. This gives a later plumber more useful information than an invoice saying only that insulation was installed.
If you rent out the home or expect someone else to check it during winter, leave the main shutoff location and the known vulnerable area with the property instructions. Keep access to both clear. The person checking the home needs to be able to report a specific location and reach the isolation point if a pipe fails.
Leave a usable record for the next cold spell
Keep photos of the inspected areas and identify any section that could not be accessed. Save the product information and the repair scope. If a future problem occurs, you can explain which route was addressed and which section remains unknown.
Ask Seal Plumbing to review the exposed water line with its location, access details and freeze history. The aim is to resolve the specific exposure before winter, including any building work needed around it, rather than adding another cover without understanding why the line became cold.