
A Slow Bathtub Drain: When the Stopper Is Part of the Problem
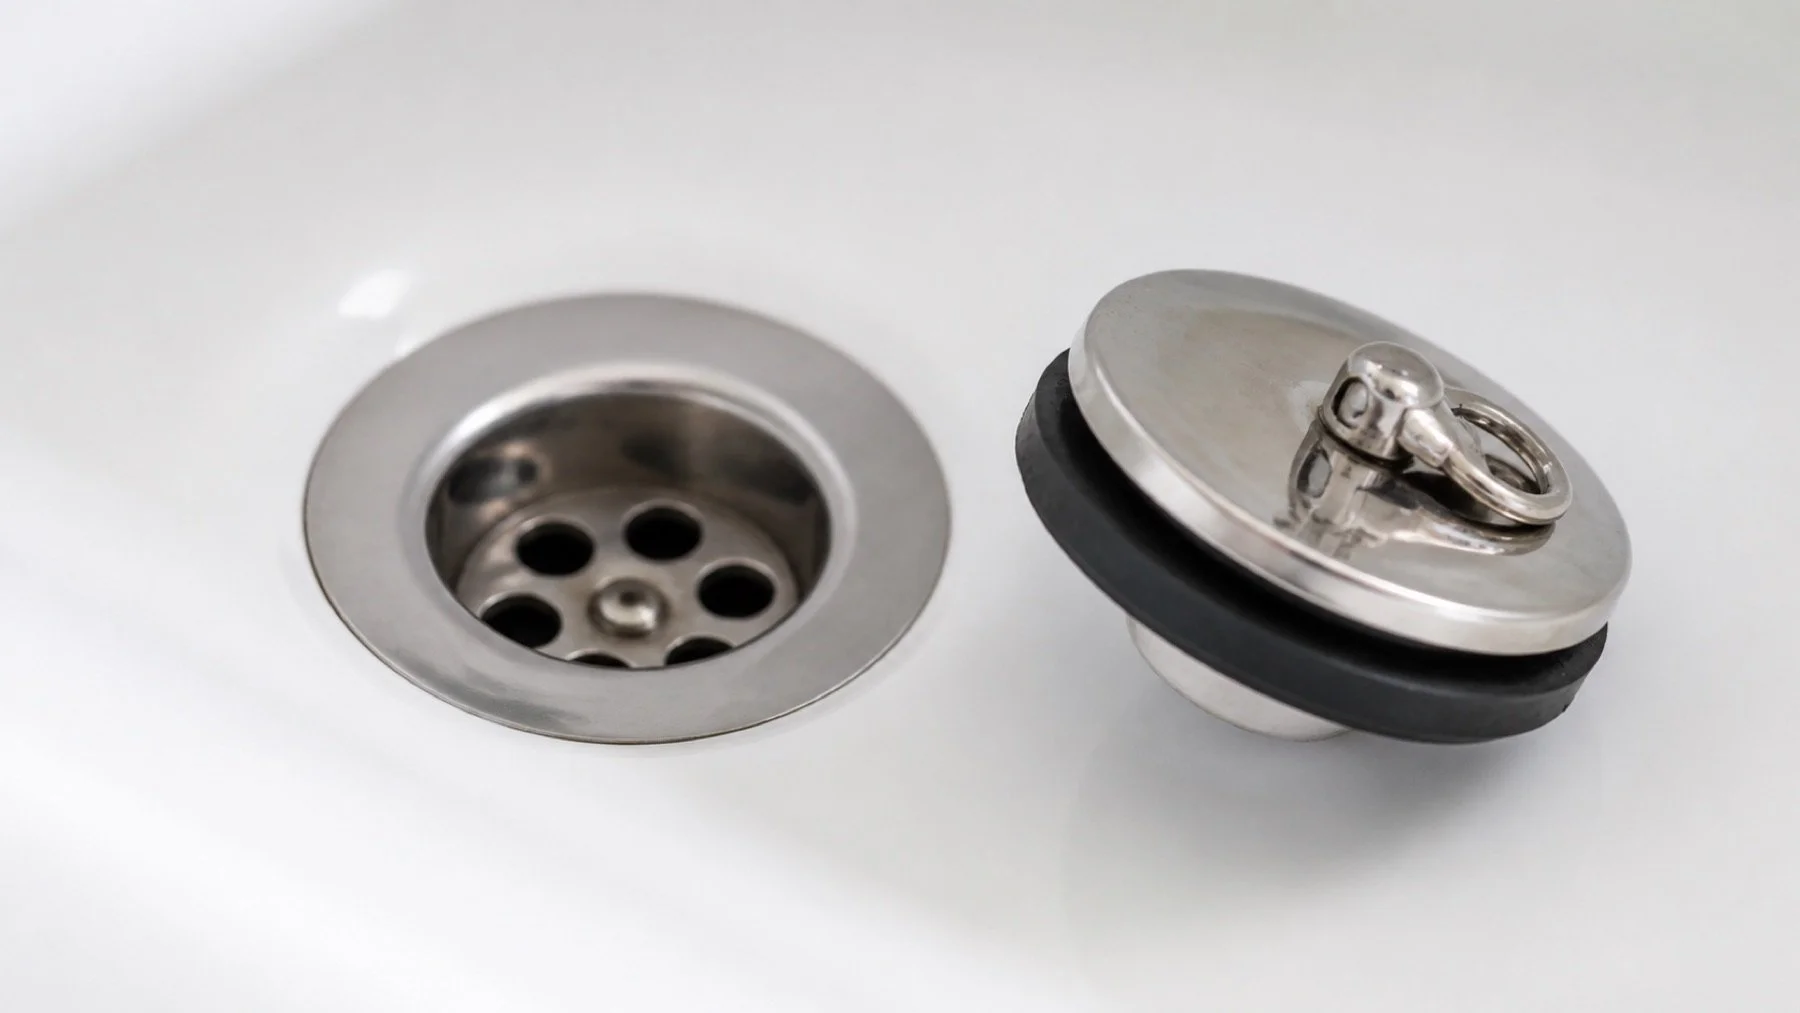
A bathtub that drains slowly may have a stopper that is not opening properly. Before treating the problem as a blocked pipe, notice whether the stopper rises fully and whether its movement has changed. Seal Plumbing handles fixture repairs and drain service, which are different possible responses to the same slow tub.
This is a fixture check, not a guide to forcing a tool through the drain. If wastewater is coming back into the bath or other fixtures are also backing up, stop using the affected plumbing and arrange service.
Watch the stopper's normal movement
Operate the stopper using its normal control. Depending on the assembly, that could mean pressing the stopper, turning it or moving a lever. Check whether it reaches a clear open position or remains partly across the outlet. Do not force a control that has seized.
Notice whether it springs back, sits crooked or behaves differently each time. A problem that began after cleaning or after someone removed the stopper is particularly useful history. Explain what was taken out and whether every part went back in its original position.
Some assemblies have adjustment procedures specific to the model. Kohler's bath clicker guidance, for example, addresses stopper operation and adjustment. That does not mean the same method applies to a lever or cable operated bath waste. Identify the assembly before following instructions.
Separate the visible stopper from the concealed assembly
The part you see in the tub belongs to a larger waste and overflow assembly. Replacing a decorative cap may not correct a problem in the mechanism behind it. Likewise, a slow drain that remains slow with a properly functioning stopper needs investigation beyond the visible fitting.
| What you notice | What it helps the plumber assess |
|---|---|
| Stopper barely lifts | Operation, adjustment or compatibility of the mechanism |
| Stopper opens but drainage stays slow | Restriction or another issue beyond the opening |
| Control changed after a part replacement | Whether the replacement matches the existing assembly |
Remove only debris that is plainly accessible without dismantling the fitting or exposing yourself to chemicals. Leave the drain flange and overflow connection alone unless you are following the correct service procedure with suitable access. Turning the visible flange can disturb connections you cannot see below the bath.
Do not order by finish alone
A chrome replacement may look identical to the old part and still use a different connection or mechanism. Look for the bath or drain model in your renovation paperwork. Photograph the stopper and its control, then compare the manufacturer's parts information rather than relying on colour and approximate diameter.
If the model is unknown, ask the plumber whether a repair part can be identified or whether a larger assembly needs replacement. The answer should include how the existing connections will be accessed. A finished ceiling below the tub can make that question more important than the price of the visible part.
Include what the rest of the bathroom is doing
Report any gurgling, toilet related movement in the tub water or slow drainage at another fixture. Those observations broaden the investigation beyond the stopper. Do not repeatedly fill the bathtub to compare drain times if water is backing up or leaking below.
Timing also matters. A gradual slowdown with an unchanged stopper differs from a sudden problem after a bathroom renovation. If cleaning helped briefly, tell the plumber how long the improvement lasted and what method was used. Previous chemical products need to be disclosed before anyone works on the drain.
Skip adding another cleaner to standing water. Keep the product name available if something has already been poured in, and avoid plunging or dismantling a drain that may splash the solution. A service provider needs to know what is in the water before starting work.
Use three separate observations to narrow the repair
Stopper movement, water retention and emptying are separate observations. A stopper can close tightly yet leave too little clearance when opened. It can also open normally but fail to seal for a bath. Tell the plumber which function has changed instead of describing every fault as a blockage. This makes the first inspection more focused without asking you to diagnose concealed pipework.
For the Kohler clicker assembly described above, the manufacturer identifies thread adjustment as a factor in mechanism travel. It also shows how overtightening can push the gasket out of position. These are specific mechanical faults with different checks. They do not establish that tightening your own stopper will improve drainage, particularly if you have not identified the model.
Consider an example where a replacement cap was fitted yesterday and the tub immediately began emptying more slowly. Start by reporting the part change and whether the cap reaches its open position. If the tub was already slow before the cap changed, retain that earlier history. Otherwise the recent repair can distract from a problem that was present all along.
You do not need to fill the bath again to document either case. Use what you observed during normal use and photographs of the dry fitting. Where there is an existing leak, chemical residue or wastewater backup, leave testing to the service visit.
Agree on what happens if the stopper works correctly
Ask whether the visit covers only a visible mechanism repair or also an assessment of the receiving drain. If the stopper operates correctly, the next step should follow the observed drainage problem. A new cap should not be the default purchase simply because it is the easiest part to reach.
Discuss access before approving work below the bath. A removable panel behind the tub, an open ceiling below it and a fully tiled enclosure present different practical constraints. Show any existing panel in your photos. Do not cut a new opening until the repair route and the responsibility for restoring the finish have been agreed.
For a rented home or a condominium, contact the person responsible for plumbing alterations before arranging access through walls or ceilings. Give them the symptom history and any visible staining. This is especially useful when the space below the bath belongs to someone else and a plumber cannot simply enter it during the appointment.
Keep the removed part if the installer recommends it for identification, and retain the replacement model in your records. When drainage is restored, record whether the work corrected the mechanism, removed a restriction or addressed both. That distinction helps the next plumber identify what was repaired if a similar symptom returns.
Check the result before closing access
After a stopper repair, ask to see it open, close and hold water as intended. Drainage should also be checked. If the waste or overflow connections were disturbed, the test needs to address those connections, not just the movement of the cap.
For a bath being replaced as part of a residential bathroom project, select the bath and its compatible waste assembly together. That gives the installer the right specifications before access is covered by finishes.
Share a photo of the stopper and control with Seal Plumbing, along with the tub model if you have it. State whether the stopper opens fully and whether other fixtures are affected. Those details help separate a small mechanism repair from drain work that needs a different scope.