
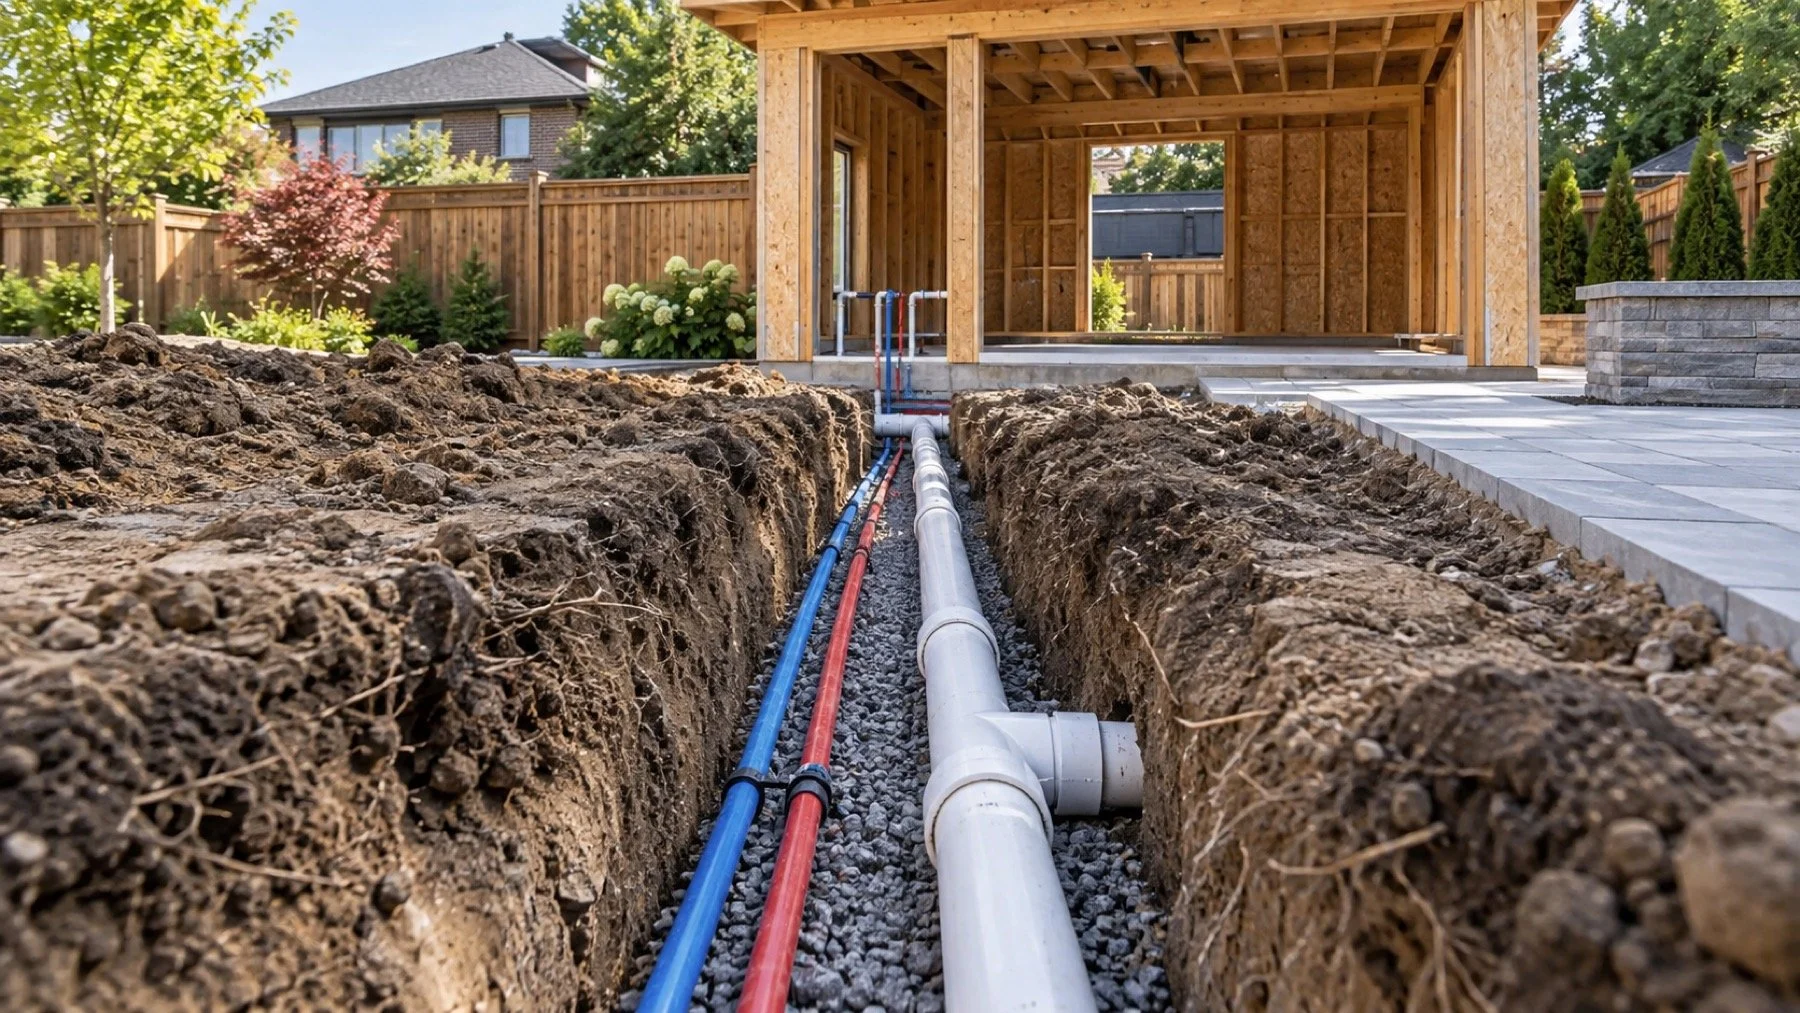
The trench is open for a cabana, and every later choice now has a physical route. A sink changes the water and drain plan. A washroom adds venting and winter protection. A bar, shower, or hose connection changes demand and the fixture layout.
Supply routing, drainage and the winter shutoff for a cabana all have to be sized and placed before the trench is backfilled, because changing any of them later means opening the ground a second time.We use the open trench as the decision deadline. Supply depth and protection, drainage slope, cleanouts, shutoffs, winter draining, and the connection to the house all need a coordinated answer before backfill. Moving one line later means opening landscaping or hardscape again.
Use this questionnaire with the designer, plumber, pool contractor, and local building department before anyone covers the work.
Questions to settle before the trench closes
What will the cabana actually contain
List every sink, toilet, shower, floor drain, hose connection, appliance, and future capped connection. Mark whether each item is part of the current permit or only a possible future phase. A decorative layout without fixture specifications is not enough for rough in.
Confirm which uses are seasonal and which space will be heated. A washroom used in shoulder seasons has a different freeze risk from a summer bar that is fully drained each fall.
Where can drainage flow by gravity
The drain route needs continuous grade to an approved connection and must work with the site elevations. Pool decks, footings, retaining walls, and tree protection zones can remove the route that looked shortest on paper. Elevations should be checked before final trench depth is accepted.
If gravity drainage is not practical, the project may need a different design and equipment. Do not select that solution from a sketch alone. The fixture load, elevation, access, and power coordination need project specific review.
How will the water line be isolated and drained
A seasonal branch needs a reachable shutoff and a way to remove water from exposed or vulnerable sections. The route should avoid low points that trap water. Valves and drain points need labels and access after cabinets, planting, and pool equipment are installed.
Write the closing procedure while the piping is still visible. The person winterizing the cabana should not have to infer which valve controls which branch.
What crosses the trench
Electrical conduits, gas, irrigation, pool piping, drainage, and communications may all compete for the same corridor. Required separation, bedding, sleeves, and inspections must be coordinated by the responsible trades and authority. One contractor moving a line can affect everyone downstream.
Photograph the complete trench with a tape measure and fixed landmarks before backfill. Keep inspection records and approved drawings with the property file.
Who owns permits and final commissioning
Municipal requirements vary across Toronto and the GTA. Confirm permit scope, inspection stages, and who supplies drawings before work starts. A pool permit or landscape approval does not automatically cover the plumbing inside a separate structure.
Before turnover, test fixtures, drainage, shutoffs, and the winter drain procedure. Record the valve map and identify any item another trade must commission.
Answer the use questions before drawing the trench
Will the cabana have a sink, toilet, shower, bar, hose connection, floor drain, dishwasher, ice maker, or future fixture? Will it operate only in summer? The fixture list controls supply demand, drainage, venting, winter shutdown, and equipment space. A sink added after the permit drawing can alter more than the cabinet. Write the complete intended use beside the plan before anyone prices buried piping.
Ask who will use the space and how often. A private family washroom, a pool shower, and an entertainment kitchen create different peaks and maintenance needs. If the building may later serve a larger occupancy or different use, raise that with the designer and municipality early. Plumbing should follow the approved use, not an informal future plan hidden from the drawing.
Confirm which municipality has jurisdiction and who is responsible for permits, drawings, inspections, and utility information. Requirements can vary across Toronto and the GTA. The City of Toronto publishes guidance for standalone plumbing and drain permits, but a project outside Toronto needs the process for its own address.
Coordinate the trench as a shared construction zone
The trench may need to accommodate water, sanitary drainage, electrical work, gas work, storm drainage, and structural or landscape features. Each service has separation, depth, bedding, protection, and inspection needs. The general contractor should coordinate a section through the trench rather than letting each trade choose a path on different days.
Gravity drainage needs continuous grade and a workable connection point. That can decide the building elevation before the wall layout is final. Pumped drainage introduces equipment, power, alarm, access, and maintenance questions. Do not assume a pump will rescue a route that has not been designed. Compare the approved options before excavation starts.
Photograph the open trench after inspected work is complete and before backfill. Include fixed landmarks and measurements, not only close views of pipe. Record cleanouts, valves, sleeves, changes in material, and the building entry. Those images reduce guesswork when a fence post, deck footing, tree, or future landscape project is planned nearby.
Make winter shutdown part of the finished design
Seasonal plumbing needs a deliberate low point, isolation method, drain down path, and access to every valve involved. A shutoff inside the main house may be useful, but the line beyond it still has to drain as designed. Trapped sections, check valves, fixtures, and equipment can hold water. The selected winter procedure must match the actual routing and manufacturer instructions.
Insulation alone does not make an exterior seasonal system safe from freezing. Heated spaces, buried sections, wall penetrations, and exposed fixture connections each behave differently. Identify which parts remain active, which are drained, and who performs the shutdown. If heat is relied upon, the owner also needs a plan for power loss and vacant periods.
At turnover, walk through normal operation and shutdown in the physical order the valves are used. Label them, photograph their locations, and keep the sequence with the property records. The useful result is a cabana that can be opened and closed without guessing, not merely pipes that passed inspection before the trench disappeared.
Close the trench only after a documented walk
Before backfill, walk from the house connection to every cabana entry. Confirm pipe identity, route, grade where required, supports or bedding, sleeves, cleanouts, isolation, drain points, and protection at changes in material or direction. Match the installed work to the current drawing and complete the required tests and inspections while every joint is still visible.
Take wide photos that show the trench in relation to the house, property features, and cabana. Then take closer photos of valves, crossings, connections, and entries. Add measurements from permanent references. A photo of a pipe surrounded by soil is hard to use later if nobody can tell which wall or corner it sits beside.
Record the approved backfill material and compaction responsibility with the general contractor. Plumbing can pass its test and still be damaged by careless backfill or later excavation. Keep heavy equipment, sharp debris, and uncoordinated landscape work away until the route is protected and the construction record is complete.
The prebackfill package
Keep the approved drawing, inspection result, pressure or drainage test record, trench photos, material information, valve locations, and winter shutdown sequence together. Give the homeowner and builder the same final route record. The landscape plan should also show the protected corridor so later planting, fencing, or deck work does not treat it as empty ground.
If the project changes after backfill, update the record rather than writing a note on an old drawing. A relocated fixture, new branch, or different shutdown point can make the original instructions unsafe or incomplete. The final package should describe the cabana that was actually built.
Preserve the buried route on paper
A buried route should never depend on memory. The final plan needs to show what enters the trench, where it runs, how it is isolated, how seasonal sections drain, and which parts remain active. That record is part of the installation because future landscaping and service work will rely on it.
Utility locating and property planning also belong before excavation. Confirm public and private services, easements, property limits, tree protection, and the intended equipment access with the responsible project team. The plumbing route should not be approved in isolation from those constraints. If the shortest trench crosses a protected or congested area, revise it on the plan before equipment arrives. A coordinated route reduces the chance of a field detour that changes grade, depth, winter drainage, or the location of future cleanouts and valves.
Tie the cabana route to the property plan
Outdoor plumbing works best when it stays connected to the custom home and seasonal service plan.
Ontario made the 2024 Building Code effective on January 1, 2025. Municipal permit and inspection administration still follows the address where the cabana is built. Ontario Building Code effective date.
Code aware next step before backfill
Send the cabana plan, fixture schedule, site elevations, and trench timing. Seal Plumbing can review the plumbing scope before the route disappears.