
Washing Machine Drain Overflow: What the Location of the Water Tells You
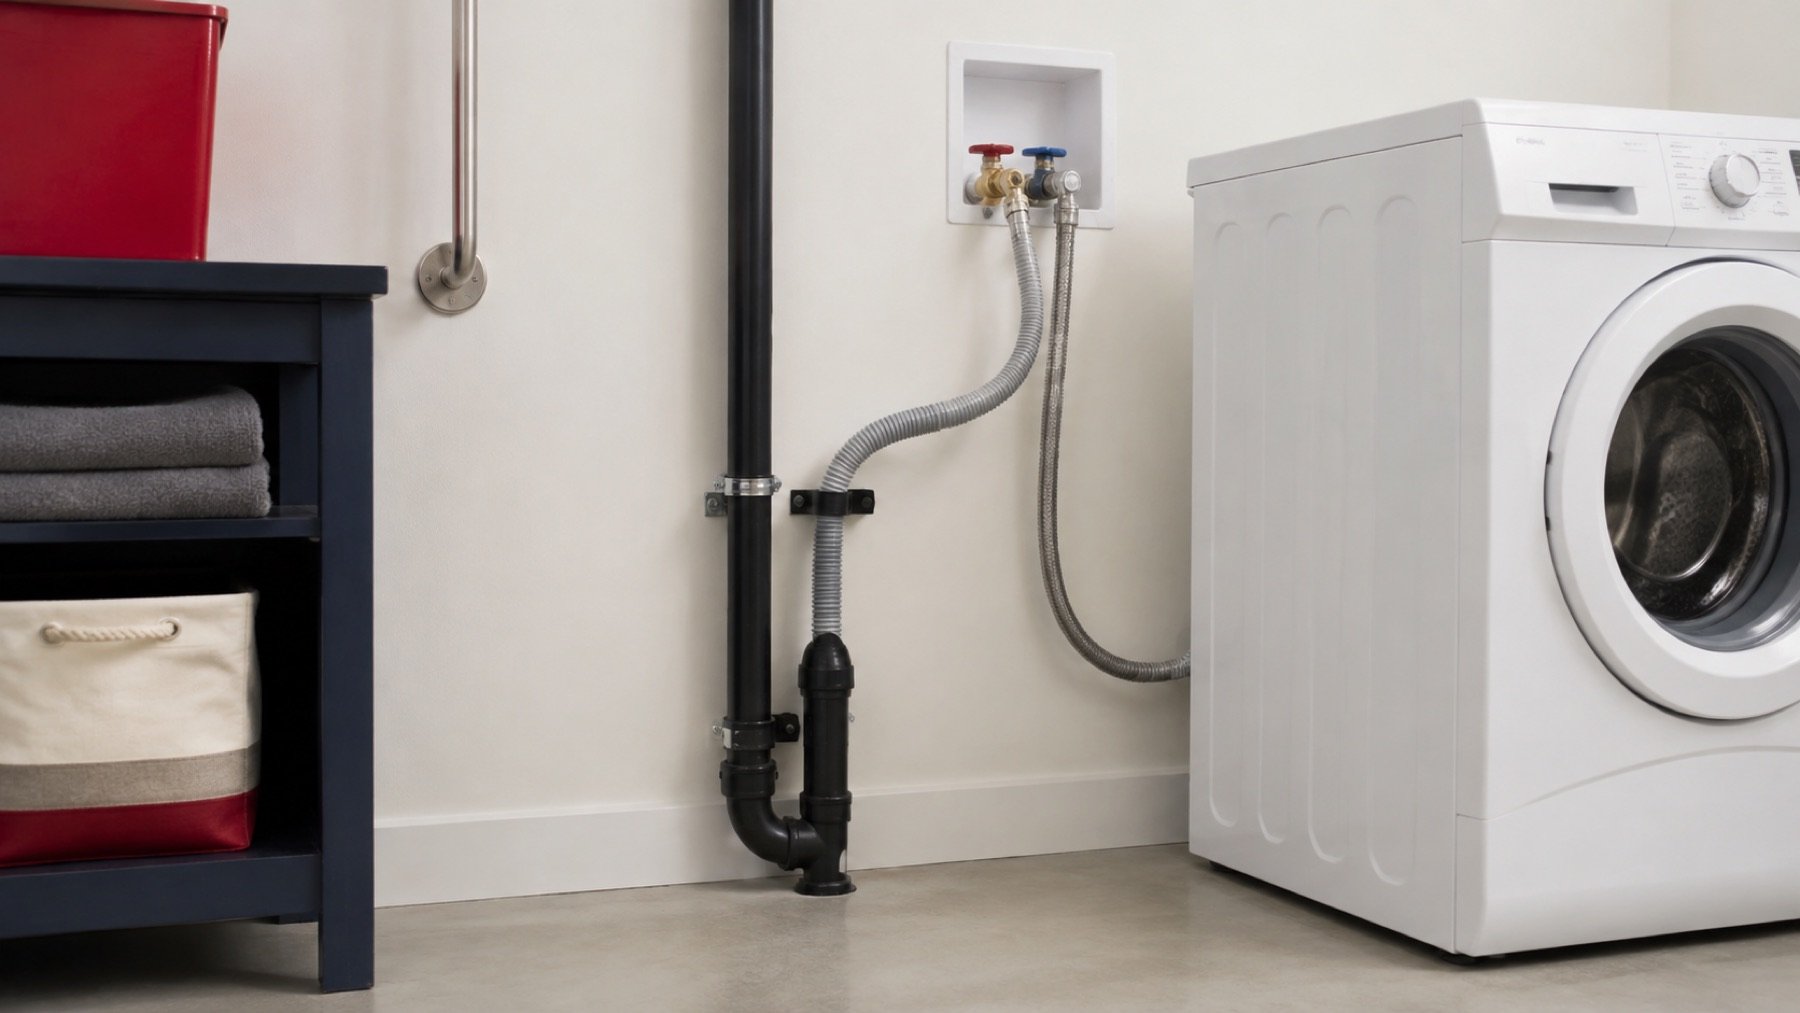
When a washing machine drain overflows, stop the cycle and identify where the water first appears from a safe position. Water rising out of the standpipe is different from a hose leaking behind the machine or water escaping underneath the appliance. That distinction helps direct the first service call.
Seal Plumbing handles laundry plumbing in residential projects and building drain problems through its repair services. This guide helps you describe the overflow without taking apart the washer or repeatedly flooding the room.
Stop the discharge before another load
Pause or stop the machine using its normal controls only if you can reach them safely. Do not step into water to unplug it. Keep clear of wet electrical connections and arrange urgent help when water reaches electrical equipment. If a supply hose is leaking, an accessible, known laundry shutoff may let you isolate it without moving the appliance.
Leave the washer out of use until the overflow has been assessed. Running a smaller load is not a reliable way to test an unresolved drain problem. The next pump out can release more water into the same location, including spaces you cannot see behind cabinets or flooring.
Water rising from the open standpipe
The standpipe is the open drain receiving the washer's discharge hose. If water rises out of that opening while the machine pumps out, report that exact sequence. The building drain may not be accepting the discharge, or the hose and receiving arrangement may need correction. The symptom does not by itself identify a blockage location.
Photograph the hose where it enters the drain, including the visible connection and surrounding wall. Do not seal the opening with tape or force the hose farther down to keep water in. The washer's instructions determine how its hose should be supported and positioned.
Whirlpool's drainage guidance treats hose restrictions and installation as part of troubleshooting. Use the manual for your actual model rather than borrowing a standpipe height or insertion measurement from a different washer. A plumber can compare that requirement with the installed drainage arrangement.
Do not turn an open drain connection into a sealed one
When water escapes around the discharge hose, wrapping the opening can look like an easy fix. Leave the receiving arrangement available for proper inspection instead. Ask the plumber to check the hose support, installation height and insertion against the actual washer manual. A hose that has slipped, been extended or been changed during a move deserves attention alongside the building drain.
Tell the plumber whether the washer drains into a standpipe or a laundry sink. If a sink receives the discharge, mention anything that was in the bowl when it overflowed, such as a cleaning bucket or a stopper. Remove loose stored items only when you can do so safely with the machine stopped. Do not reconnect the hose to a different drain as a temporary experiment.
Report nearby fixture reactions
If the laundry sink rises or a floor drain backs up during the same event, include that information. It can help the plumber decide which part of the building drain to investigate. Avoid running other connected fixtures while wastewater is coming back into the room.
Also note whether the problem developed gradually or started immediately after the washer was installed. A drain that handled the old machine still needs to be assessed with the replacement's requirements in mind. The timing is a clue, not proof that the new machine is defective.
Water at a hose connection or below the cabinet
A leak at a visible hose connection should be reported as a connection leak, not a standpipe overflow. Tell the service provider whether it happens while the machine fills or drains. Supply hoses and discharge hoses serve different functions, and the timing helps distinguish them.
If water appears from underneath the washer, an appliance problem may require an appliance technician. Do not assume the building drain is responsible merely because the puddle is in the laundry room. Conversely, water spreading from the standpipe can travel beneath the machine and make the appliance appear to be the source.
Keep your observations limited to what you can actually see. Avoid pulling a stacked unit forward or reaching behind it while it operates. Record the model number from an accessible label or purchase record. If the installation is inside a closet, photograph the overall space so access needs can be discussed in advance.
Separate water left in the drum from water leaving the room's drain
A machine that finishes with water in its drum has a different immediate symptom from a standpipe that spills during pump out. Whirlpool notes that restrictions, detergent use and model-specific filter issues can affect appliance drainage. Those possibilities are useful when describing the machine's behaviour. They do not establish why a building drain overflowed or prove that changing detergent will repair it.
Check the error message and save a photograph of the display before arranging service. Report whether the cycle stopped on its own, whether the drum still contains water and whether the door remains locked. Leave a locked door closed. Do not open a filter housing simply because another model's online tutorial shows one. The correct manual determines whether there is an accessible filter and how retained water is managed.
If an appliance technician finds that the washer discharges normally but the receiving drain backs up, ask for that observation in the service note. Give it to the plumber with the model information. If the plumber instead finds a dry, functioning drain while the machine leaks internally, keep that finding for the appliance visit. Sharing the actual observation reduces repeated assumptions about which system needs repair.
Prepare the installation history for the visit
- Washer make and model, plus its installation date if known.
- The first visible escape point and whether it occurs during filling or draining.
- Any gurgling or backup at the laundry sink, floor drain or another fixture.
- Previous drain clearing, hose changes or plumbing alterations.
- Products added to the drain and whether standing water remains.
In a condo or shared laundry area, notify the responsible manager before work on common piping. Ask about shutdown permissions and access to the room below if water has travelled beyond your unit. An appliance appointment and a plumbing appointment may require different access arrangements.
Before a repaired setup goes back into routine use, ask who will observe its first test and what will be checked. The person carrying out the work should explain how the machine's discharge will be observed without leaving a potential overflow unattended. If the original event affected another fixture, include that fixture in the discussion of the test. A brief trickle from a nearby tap does not recreate the washer's discharge.
Keep the completed repair description with the washer manual. Record whether the work involved the appliance, discharge hose, standpipe or another section of drainage. If the symptom returns, that distinction helps the next service provider understand what has already been assessed. Also ask whether any displaced cabinet, access panel or appliance must remain accessible for follow up before putting the laundry room back together.
Send Seal Plumbing the overflow location and washer details. After the repair, ask how the drainage will be tested under an actual discharge and which connections will be checked for leakage. The useful finish is a working laundry setup with the source identified, not simply a floor that has dried.